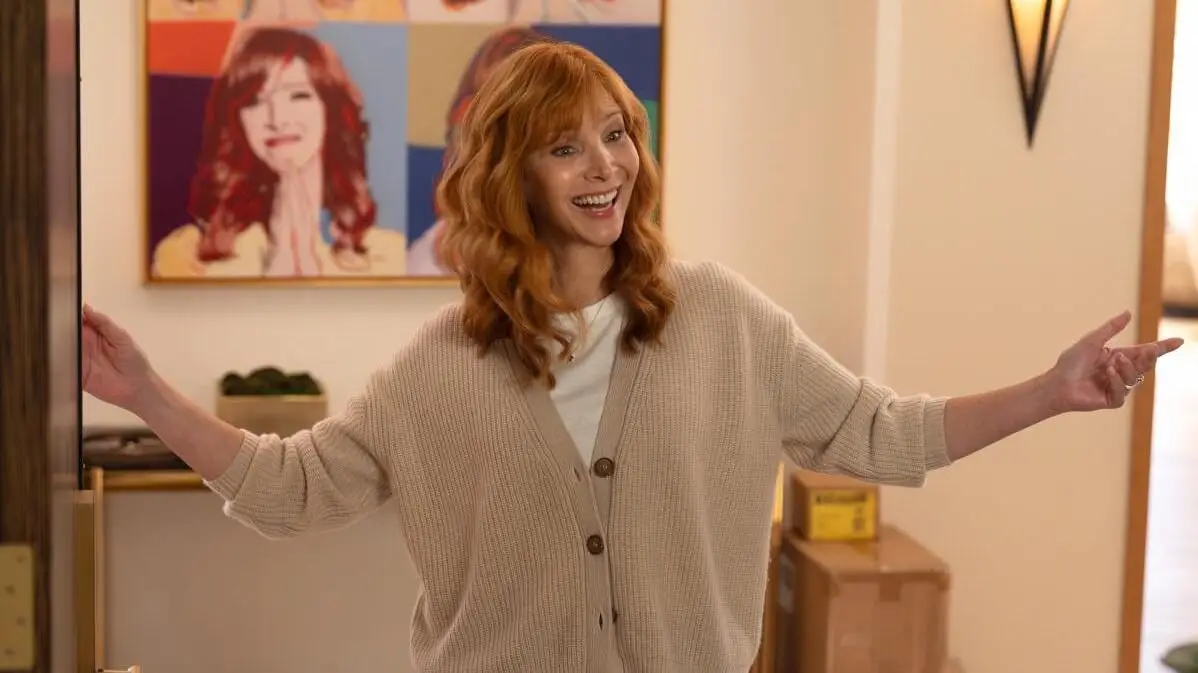
Lisa Kudrow discusses her return as Valerie Cherish in 'The Comeback' in an exclusive interview with Betches!
Lisa Kudrow discusses her return as Valerie Cherish in 'The Comeback' in an exclusive interview with Betches!
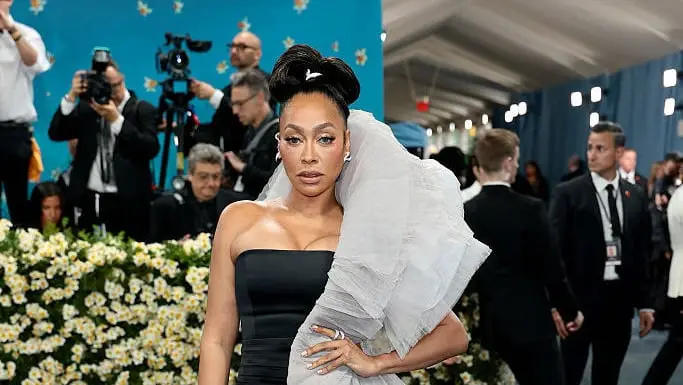
The fashion legend is giving away her most iconic looks (for a good cause).
The men who scream about masculinity online are really just toddlers begging Mummy for a juice box.

Rebekah, since you had to sleep on a pool chair, you can subtract $30.
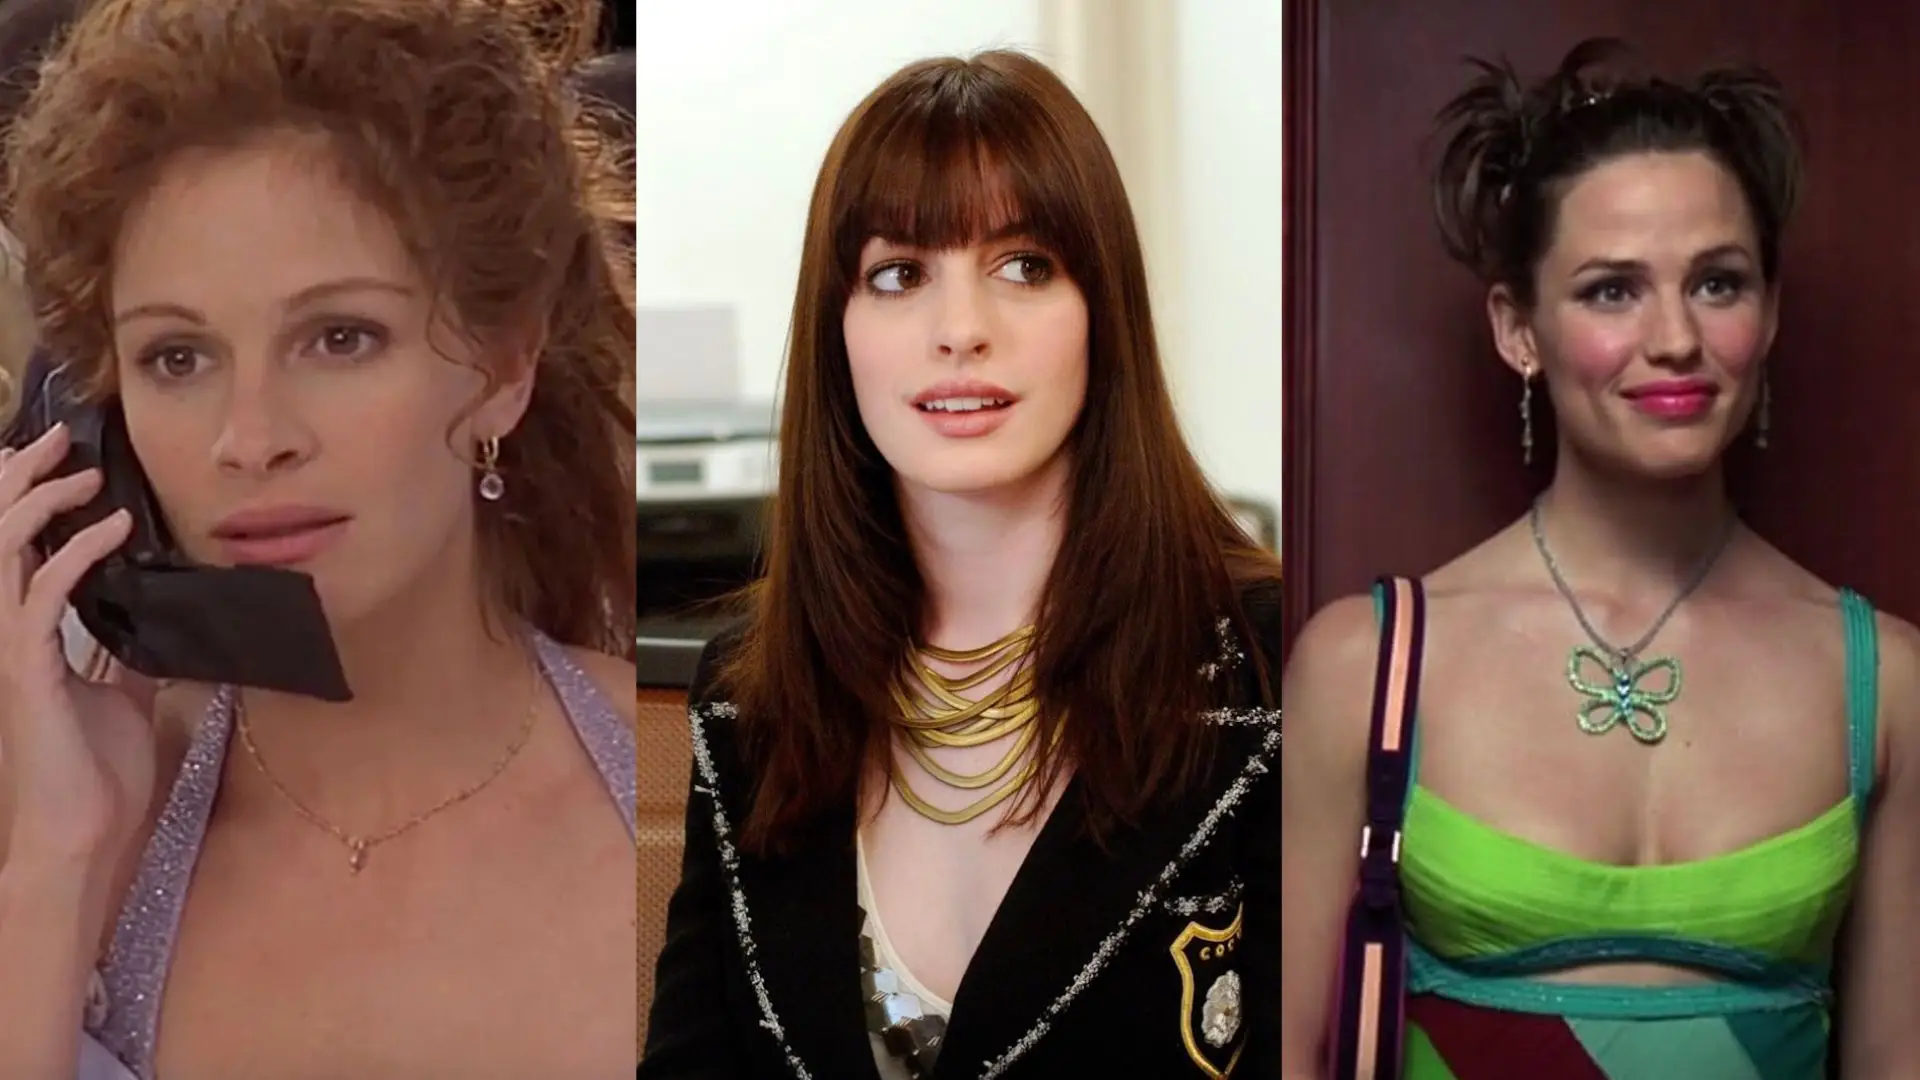
Why did every rom-com growing up make it seem like “writer” was the most exciting job you could have?

I fear this "cringey" crush is gonna fizzle out.
Sarah Halle Corey
This is unforgivable, actually.
Ilana Frost
Human rights are not a hobby interest.
Marissa Dow
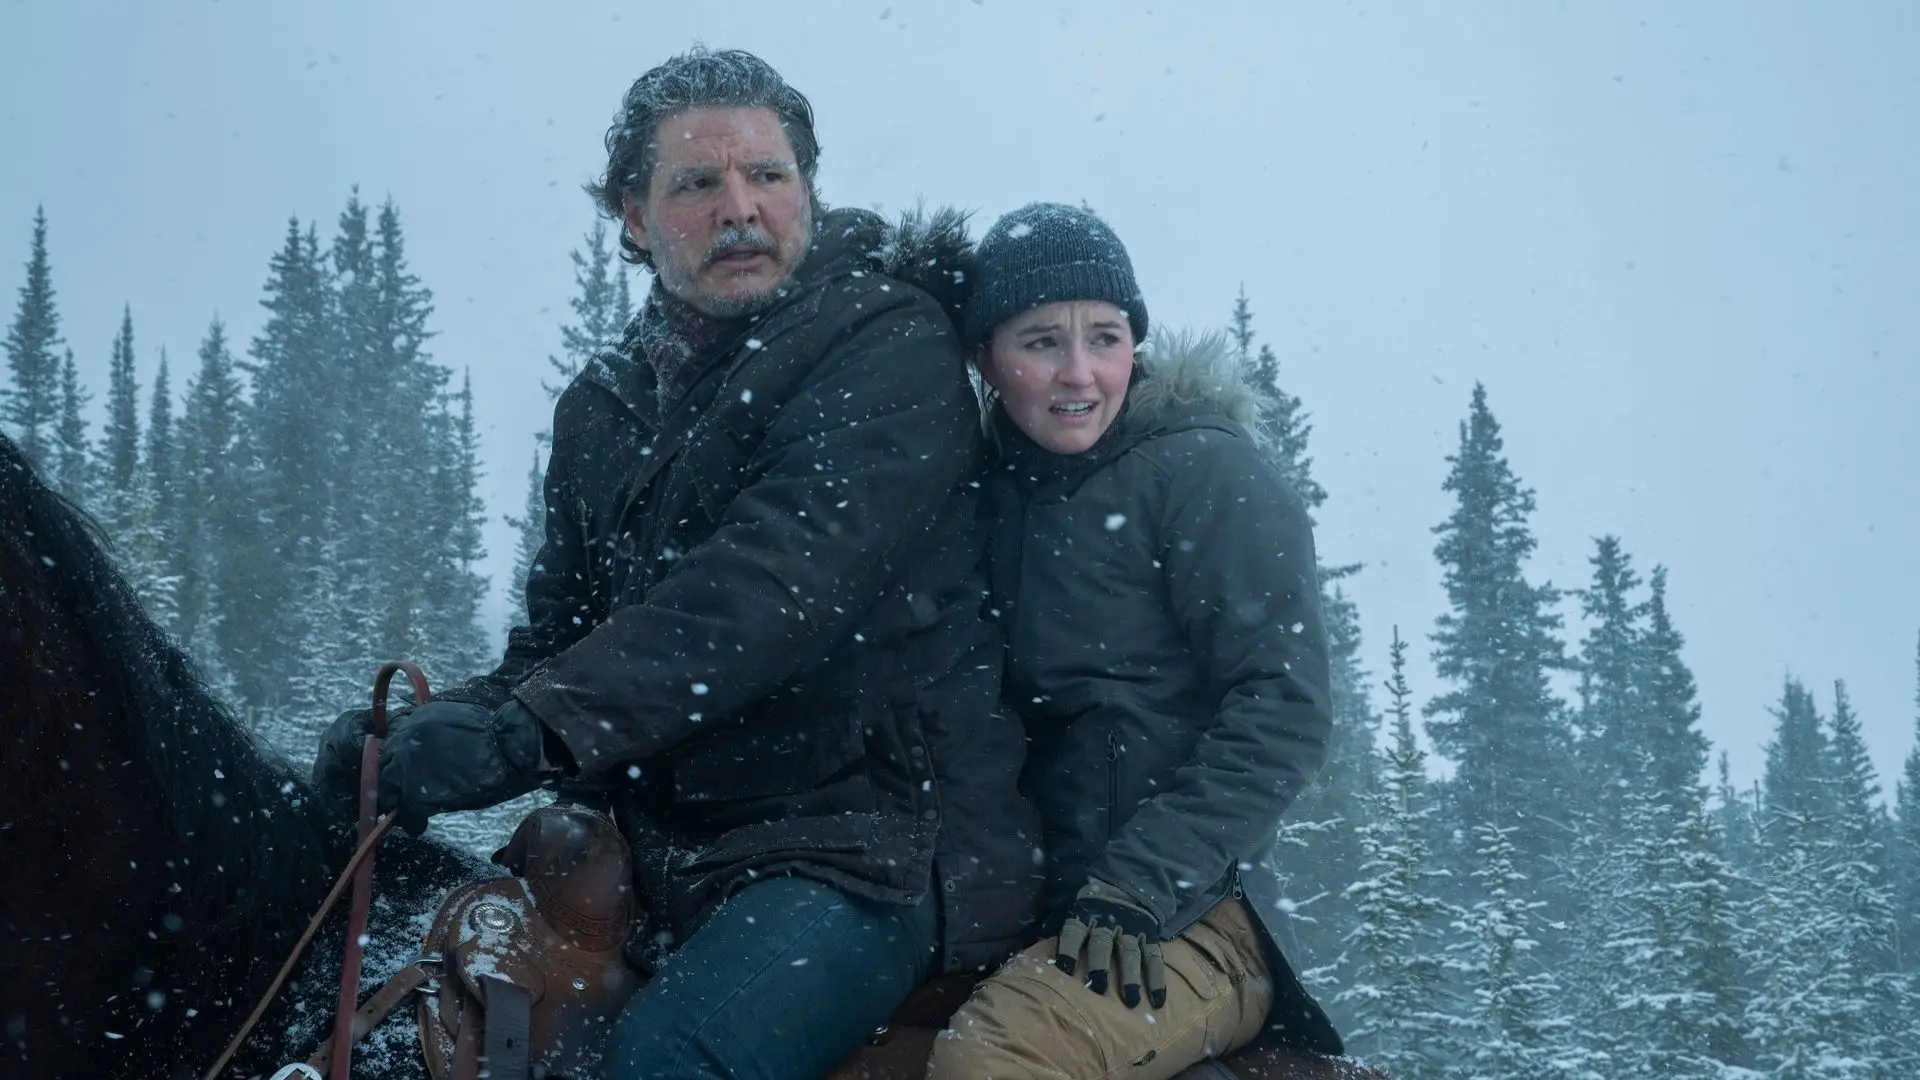
This masterpiece will always have a special place in my heart.
Ilana Frost

Omg, he doesn’t mind having sex on your period — feminist king, right?
Fleurine Tideman
1 / 5

The ultimate dating podcast features Betches co-founder Jordana Abraham and comedian Jared Freid discussing their takes on the ebbs and flows of the crazy dating world we live in. Whether they're interpreting dating app interactions and weird sexual encounters or defining the relationship (and everything in between), Jared and Jordana here to make sure you don't die alone.
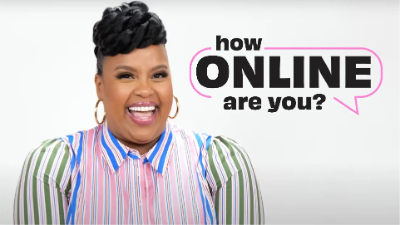
Watch your fave celebs take a hilariously chaotic deep dive into the internet's wildest trends in our viral pop culture quiz series.
Certified Bravoholic Dylan Hafer covers everything Real Housewives and more in this podcast, including weekly episode recaps and analysis, the latest social media drama, and interviews with your favorite Bravolebrities.
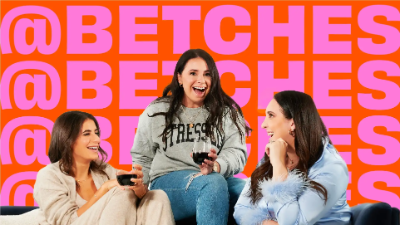
Co-Founders Aleen Dreksler, Jordana Abraham, and Sami Sage — aka the OG Betches friend group that started it all — welcome you to their pop culture group chat. Each week they cover all the latest in their lives, the hottest TV and movies out now, and never fail to say some v funny sh*t (ofc). Come for the hot takes, stay for the group chat vibe.
Hosted by the hilarious Eleni Sabracos & Will Oser. Who are they? Oh, just two of the people responsible for all the things you can't get enough of on the Betches Instagram, and they are here to yap about all the things they can't shut up about. Come meet your new best friends and maybe even a small victorian child.
Oversharing is all about the challenges we face in all kinds of relationships — from friendships to family, long-term partnerships, or even dealing with the customer service rep that makes you want to scream into a pillow. Betches co-founder and relationship enthusiast Jordana Abraham has teamed up with her big sister, licensed clinical therapist Dr. Naomi Bernstein, to answer your questions and try to get to the bottom of the things that bother us most.

What movie will win the Oscar? What's the best wedding movie of all time? What's the most toxic on-screen relationship? The Betches video team is here to chat all things TV and movies in this hilarious chat show.

It's story time. In this YouTube series, we welcome some of the biggest stars as they sit down to tell us an unbelievable, awe-inspiring, or hilarious story from their lives.

Can we steal you for a sec? Because you need to listen to The Betchelor, a Bachelor recap podcast. This weekly podcast follows all the latest episodes and makes fun of all the ridiculous things the contestants say and do — because, honestly, why else watch the show if not for the commentary?

From under the desk to in your ears, V. Spehar joins Betches Media in a podcast dedicated to curing the collective malaise brought on by our chaotic political environment. Every week, Spehar and co-host Sami Saage will tenderly guide you through the biggest moments in politics and pop culture with a healing dose of perspective and humor.
Get ready, Betches sports fans, this NFL season, the men have been relegated! Every episode hosts Kait Maniscalco and Zoë Schubot will break down the biggest dramas, touchdowns, and behind-the-scenes tea from the league, proving that women have always deserved a seat at the table.
Can a celebrity solve a crossword puzzle... about themselves? Play along with your favorite star as they try to answer questions about their life and complete our custom-made Betches puzzle.