


As soon as the weather hits 60 degrees, all I want to do is wear a bikini, sip on prosecco, and eat some watermelon as I scroll through Instagram, poolside. Even if swimsuit weather is still a whopping three(ish) months away, it’s the time of year where we all start to evaluate juuuuuust how confident we feel strapping on our most revealing attire and showing off our beach bodies.
As a Pilates instructor, I frequently get requests for stronger, more toned abs, especially the obliques. Since Pilates was created specifically with the idea that your core is the powerhouse of the body, almost every exercise in mat or reformer Pilates will get your abdominals fired up. And while a lot of us want toned abs to show off in a strategically taken thirst trap for our followers, a strong core is more important to help our bodies function properly, improve posture, and stop low back pain as we sit at our desks all day. If you’re looking to get as strong as possible before Memorial Day weekend hits, here are the best eight ab exercises to try without leaving your apartment:
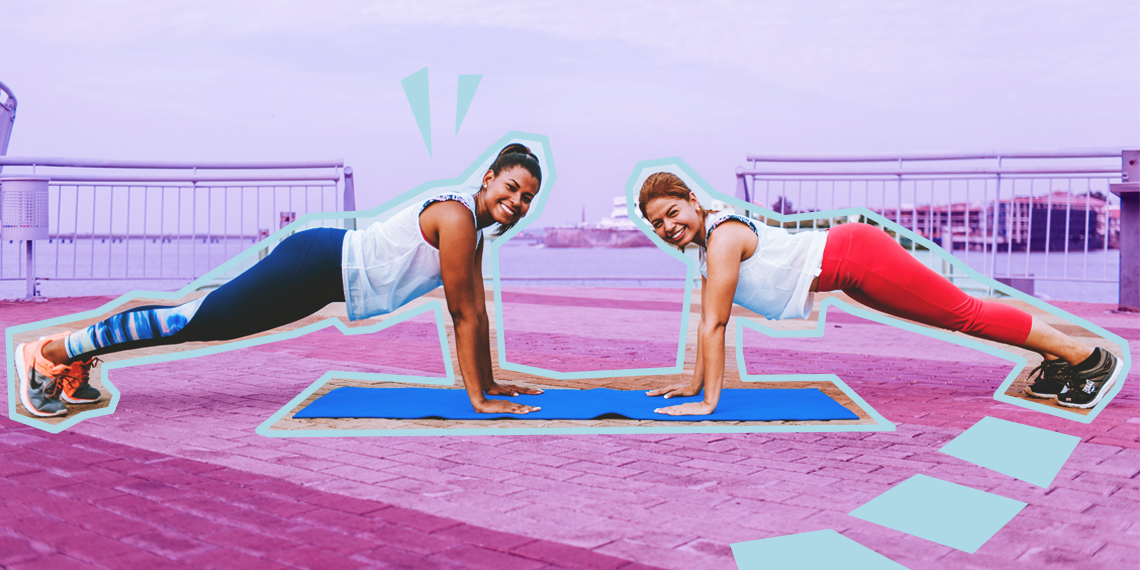
The Plank

Your basic plank is one of the best exercises ever invented, IMO. You’ll work your full body when you’re correctly executing a plank. Keep your hands stacked right underneath your shoulders, keeping palms (or forearms) pressing down into the floor to help stabilize your shoulder girdle. Pull your belly button into your spine and think about lengthening your body from the backs of the heels through the crown of the head. This will help find your glutes while finding the isometric contraction of the muscles.
Hold your plank for as long as you can! If you’re new to planks, start by holding this position for 30 seconds (remember to continuously breathe!) and then work up to one or two minute intervals.
The Plank Plus Mountain Climbers

Once you’ve mastered just holding your basic plank, it’s time to up the ante. While a basic plank will definitely help you strengthen your transverse abdominals (the corset-like muscles that wrap around your middle), adding mountain climbers will challenge and tone your obliques (the “side” abdominals the Dua Lipa flaunts in every single crop top).
https://www.instagram.com/p/BrXoSwph38P/[/embed]
Add mountain climber variations by bringing your knee to your elbow. Bringing your knee inside of your elbow will work your internal obliques, bringing it outside of your elbow will work your external obliques, and bringing it diagonally to your opposite elbow will help your oblique slings work congruently.
As you get fancy with your footwork, don’t lose shoulder stability and let your chest collapse. This can result in dumping the work of the exercise into your lower back, causing pain. Think about pressing into your palms and pushing into the floor to help keep your scapula (the “chicken wing” part of your shoulder blades) secure.
If you feel yourself arching your low back or if you feel a pinching sensation, work on your basic plank form until you feel confident enough to add the mountain climbers back in.
See if you can challenge yourself to hold your plank for at least one minute as you add your mountain climbers.
Bird Dog Plus Windshield Wipers

This exercise seems innocent enough, but be prepared to fall over on your first attempt. You can start by getting into an all fours position, knees stacked underneath hips, hands underneath shoulders.
Next, lift opposite arm and opposite leg off of the floor. Think about reaching both limbs as far as possible in opposite directions. Press your supporting hand down into the ground to help keep your shoulder supported. Hips should be level (you can place a book on your low back to see if your hips are squared. If it falls off, you’ll need to adjust). To finish the movement, move each limb to their respective sides 2-3 inches like a windshield wiper. You’ll want to keep it small. Pull it back into your starting position. That’s one rep. You should feel your obliques and transverse abdominals fire on to help maintain stability and balance. Aim for 8-10 reps per side.
Crisscross

You’ve probably done “bicycles” before, but chances are, your form is incorrect. The objective of Crisscross—the official term for the exercise in Pilates—is to find your oblique slings. When done too quickly or with poor form, you’re not squeezing the most you can out of the exercise.
First, move slowly. A lot of times I see clients whip these out as fast as they can, but moving with purpose will actually help you find more work in the exercise, which means efficiency! Pretend you’re moving through peanut butter as you start by coming up into a mini ab curl. Then think about twisting your armpit over to your opposite hip point while simultaneously extending the leg on the same side you’re twisting from.
Instead of pulling your knee closer into your face, think of it staying in space while twisting your upper body to it. You want your pelvis and lower body to stay as still as possible. Imagine your upper body ringing out like a wet towel, finding every inch of rotation through your thoracic spine.
See if you can work continuously for 30 seconds, alternating sides.
The Side Plank Plus Mountain Climbers

In case you didn’t notice, I LOVE planks. Side planks are even better because they’re super hard and super humbling, even if you work out a ton.
Before you add mountain climbers, make sure you can maintain a strong side plank. Similarly to a regular plank, you should feel like your bottom shoulder is stable as it bears the weight of your upper body. Your elbow (or hand) should be directly underneath your shoulder, and as you press into your forearm, avoid keeping all of your weight in the elbow—I know it’s tempting. Think of the bottom waist lifting up to help recruit your obliques into the exercise. This will help take some of the workload off from your shoulder. Keep your feet flexed. You can have them stacked ankle over ankle or scissored, totally your preference.
If a side plank is super challenging for you, you can also leave your top hand (or fingertips for lighter support) on the ground to help stabilize. Just make sure you’re not rounding your top shoulder too much. Your chest should be squared to the side of the room.
Once you feel confident with your plank form, take your top hand behind your head and lift your top leg into a tabletop position. Think of it “crunching” into your waist to fire up your top oblique. You might feel the outside of your butt/hip area start to work. Totally normal! That’s where your gluteus medius and gluteus minimus are—two helper muscles for your gluteus maximus, aka your booty! They’re jumping in to help bear the support of the side plank.
Try holding your side plank for 30 seconds and fit in as many mountain climbers as you can.
Double Leg Stretch

The double leg stretch is a great way to find the hard-to-reach low abs. This will challenge your entire core while also feeling fun. (OK, maybe it’s just me who thinks chillin’ in a little ball is fun…)
To begin, lie down on your back and curl up into the tiniest little fetal position you can. Let your knees come into your chest and think of your tailbone tucking under (this will protect your low back) and place your hands lightly on your shins. Take an inhale to prepare and as you exhale, shoot both arms and legs out in opposite directions. Circle your arms back to your shins. That’s one rep. The lower you aim your legs, the harder it’ll be for your abdominals. Pick what feels most challenging to your body, but if you feel a pinch in your low back, aim your legs higher toward the ceiling.
Repeat for 10-12 reps.
Scissors

The Scissors move is a little twist on the crisscross. Instead of staying up into an ab curl, let your upper body stay down and place your hands on either side of your body in a low “V” shape. Spread out your fingertips and make sure you’re pressing into the ground (this will help give you more support from your triceps). Take your legs up toward the ceiling and begin by alternating the legs like a pair of scissors—oooh, see what we did there?—on a 45-degree angle. Again, the lower you go with your legs, the more challenging it’ll be for your abdominals.
If you feel a pinch in your low back at any point for this exercise, make a diamond shape with your hands and place them underneath your sacrum (right between your low back and your tailbone). This will help keep your pelvis supported and make you’re working safely.
Try to work continuously for 30 seconds.
The Rollup

Last but not least, the roll up! The next time you find yourself lying on the floor hungover, trying to find the meaning of life, try getting up using only your abdominals.
Start by lying flat on your back and place a little pressure into your heels. This will help you “push” against gravity. Bring your arms above your shoulders, palms facing in. Inhale to prepare, exhale to begin, nodding the chin toward your chest as you roll up through your spine, pulling your belly button in toward your middle like you’re trying to zip your tightest pair of jeans. Arrive seated on your sitz bones, the bony parts of your butt. Inhale again, and exhale as you reverse the direction, returning to the starting position. That’s one rep.
Go for 8-10 reps.
Images: Emi Gutgold